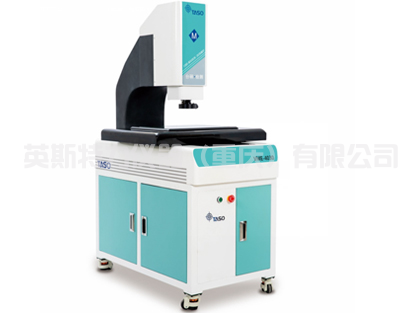
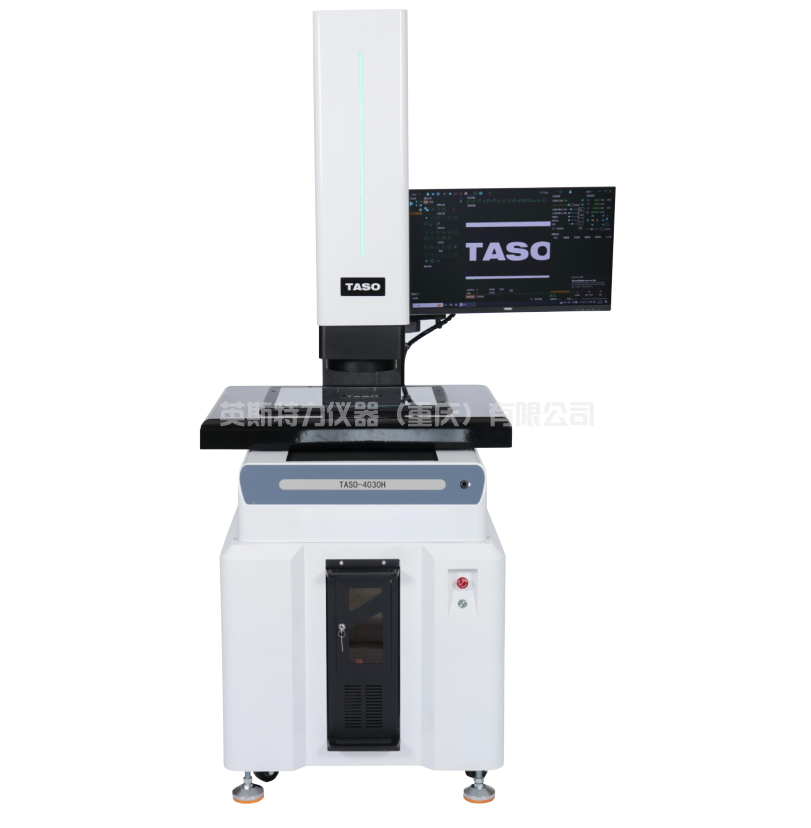
1. 溫度引起的誤差。 溫度對工件的影響很大,一般要求工件在恒溫下進行測量,但有時也需要特殊的方法來減少誤差,以防萬一。 將工件帶到檢查室15分鐘或20分鐘(根據(jù)室內外溫差和工件大小靈活調整),此時不要改變室內溫度,選擇大小相近的標準塊 將工件放在視頻測量儀下進行測量,看實際測量尺寸進行溫度補償。 補償后,測量標準塊,直到標準塊接近標準值,然后測量工件。 這時候要注意快速修復,避免溫度變化引起的錯誤。 測量完成品后,再測量標準塊,看有沒有變化,根據(jù)實際情況進行修正。
2、如果設備打開光源但不顯示圖像,可能是數(shù)據(jù)插頭松動,可以加固。
3. 有時會測量校準棒。 此時測量方法與打孔相同,但注意樣品桿必須水平放置。 如果兩端高度不同,則需要調整。
4.編程和自動測量。 編程必須建立良好的坐標系,不能省略機床坐標系的確定步驟。 編程完成后,單擊圖形框上方的三角形開始測量,單擊方形圖標結束測量。 保存任務就是保存程序。
5. 移動工件。 點擊任務,打開之前編輯或測量的程序,選擇已建立的坐標系和包括機器坐標在內的上述圖元,右鍵選擇設置平臺點,右鍵更改測量方式,選擇手動測量(否則 設備將無法找到移動的工件)。 根據(jù)屏幕左下方的提示,手動提取建立坐標的圖元后,坐標自動移動到工件上,自動測點。
英斯特力儀器是一家集研發(fā)、生產及銷售于一體的 影像測量儀,拉力試驗機, 硬度計 ,探傷儀, 粗糙度儀, 測厚儀, 金相設備廠家, 致力于為客戶提供更好的檢測儀器。
1. Temperature error. Temperature has a great influence on the workpiece, and it is generally required that the workpiece be measured at a constant temperature, but sometimes special methods are needed to reduce the error in case of urgent work. Take artifacts to measure the 15 minutes or 20 minutes (depending on the indoor and outdoor temperature difference with the size of workpiece flexible grasp), at this point do not change the indoor temperature, selection and the size of similar standard blocks in the image measuring instrument measurement, see the measured size for temperature compensation, compensation, and measurement standard, only when the standard piece of close to the standard measurement artifacts. At this point, pay attention to the quick decision, so as to avoid temperature changes bring errors. After measuring the finished parts, test the standard block again to see if there is any change, and make corrections according to the actual situation.
2. If the light source is turned on but the image is not displayed, the data plug may be loose at this time, and reinforcement can be done.
3. Sometimes the calibration bar will be measured, at this time the measurement method is the same as the plate, but note that the sample bar must be placed horizontally, if the two ends are not the same height, it needs to be adjusted.
4. Programming and automatic measurement. Programming must establish a good coordinate system, not omit the determination of the machine tool coordinate system steps. Program, click the triangle above the graph box to start measuring, click the square icon to end the measurement. A save task is a save program.
5. Move the workpiece. Click the task, open the program that has been programmed or measured before, select the coordinate system and the above primitives including the machine tool coordinates, right-click and choose to set the platform point, right-click and change the measurement method, the player moves the measurement (otherwise the equipment will not find the workpiece after the move). According to the prompt at the bottom left of the screen, the coordinates will be automatically moved to the workpiece and the point will be automatically measured.


 客服1
客服1 